
There are some important safety rules for when using the CNC machine:
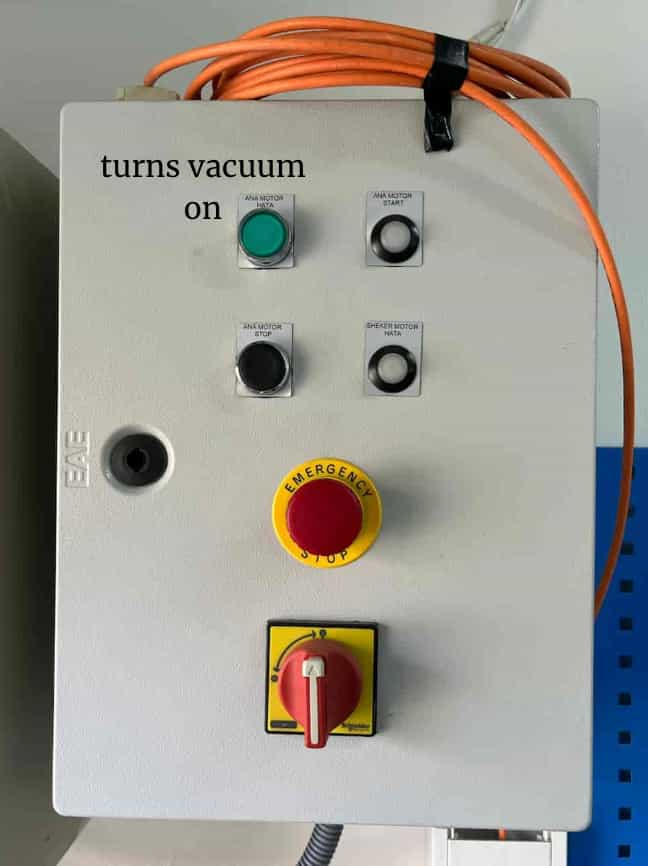
Here is the button that turns the vacuum on:
Here is the cnc machine. The computer that operates with it is on its right.

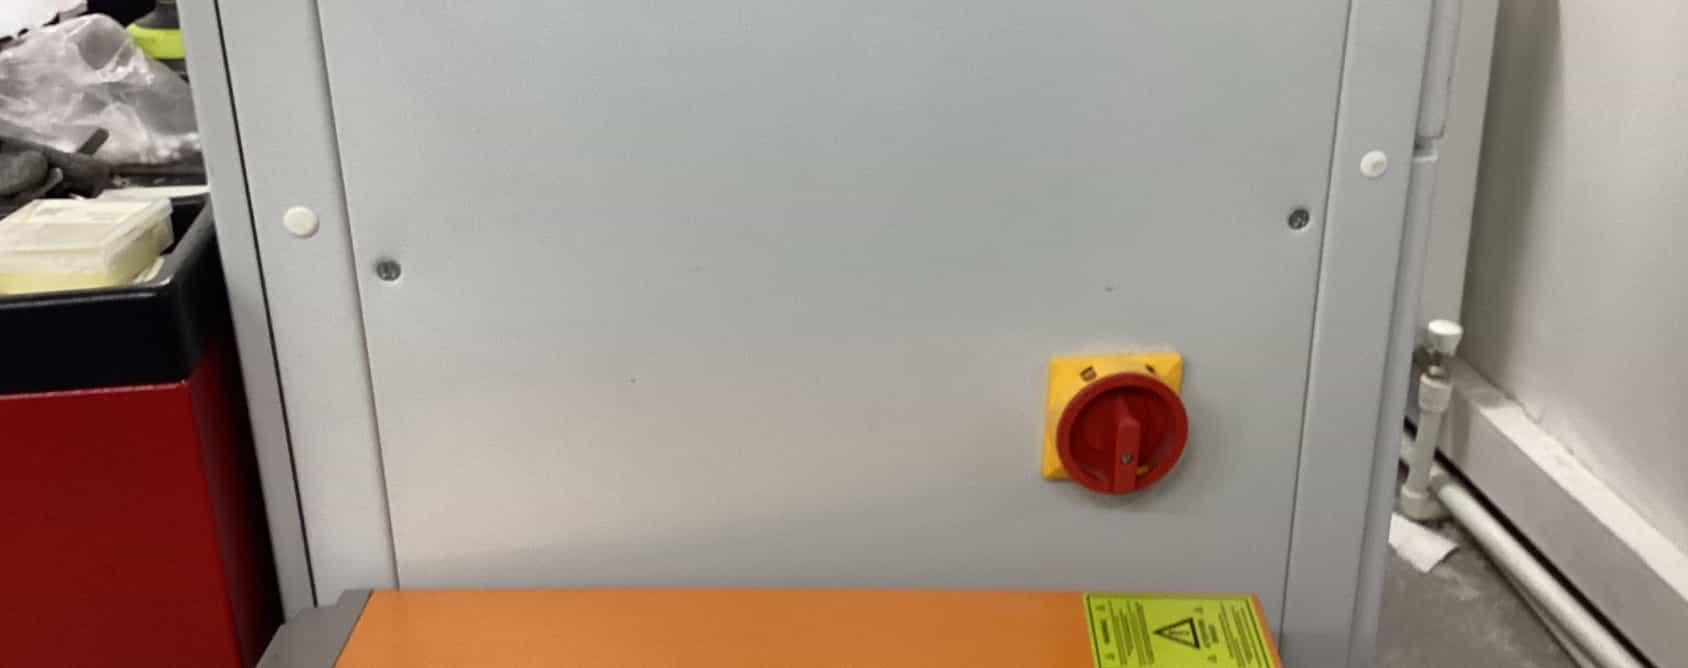
This switch turns the machine on:
Here is the blade we used for our group assignment. Its 6mm:
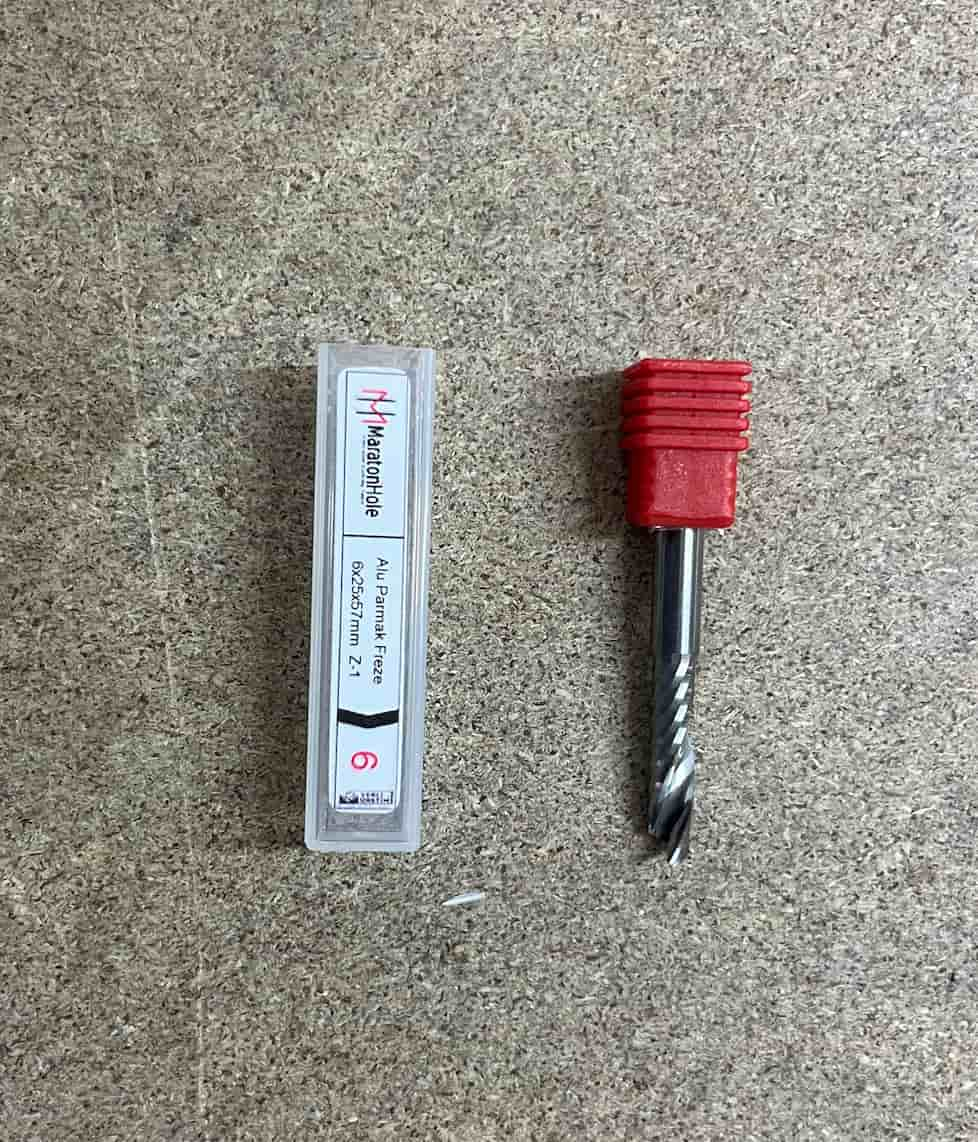
We placed the blade in its placeholder:
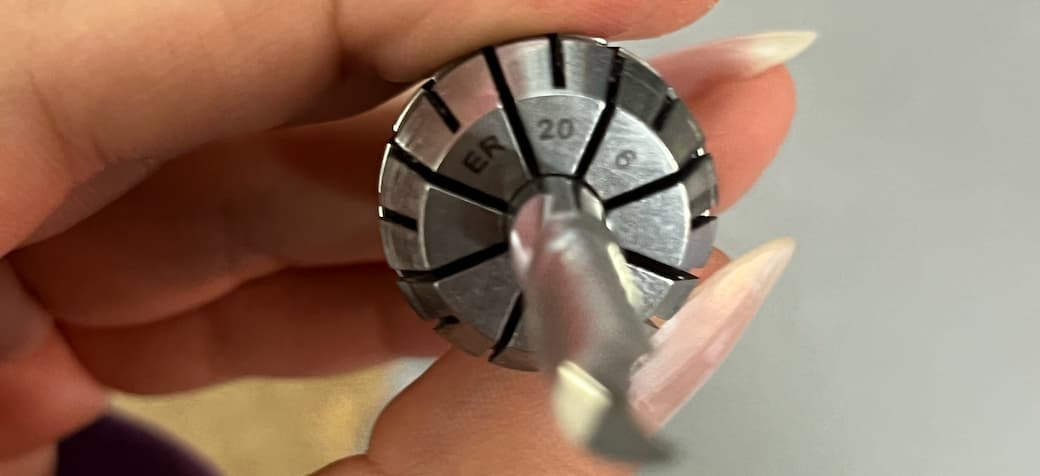
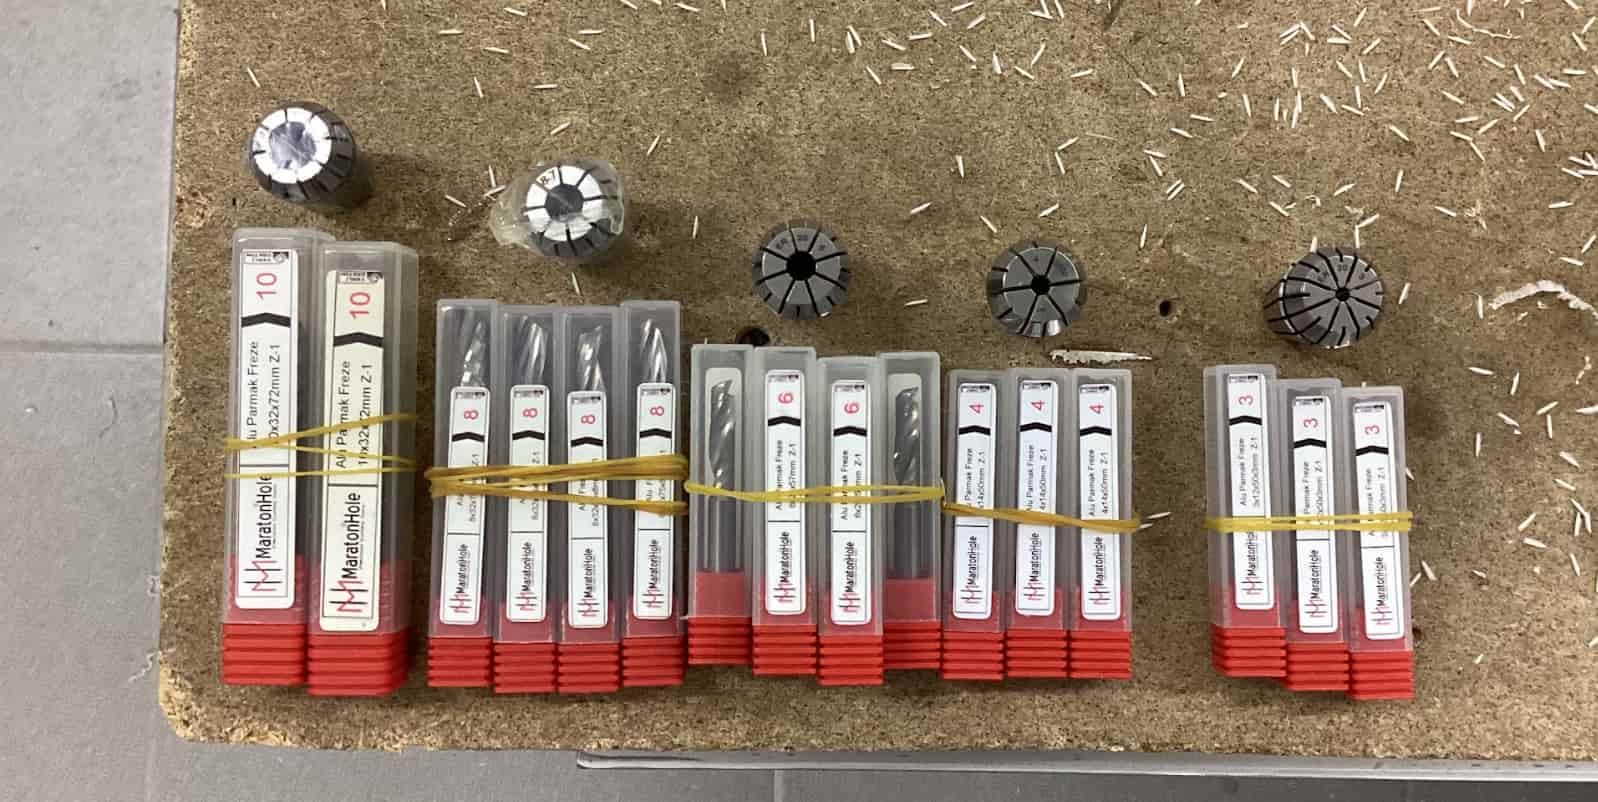
Each blade with a different mm length has a different placeholder. Here are all the blades with their corresponding placeholders:
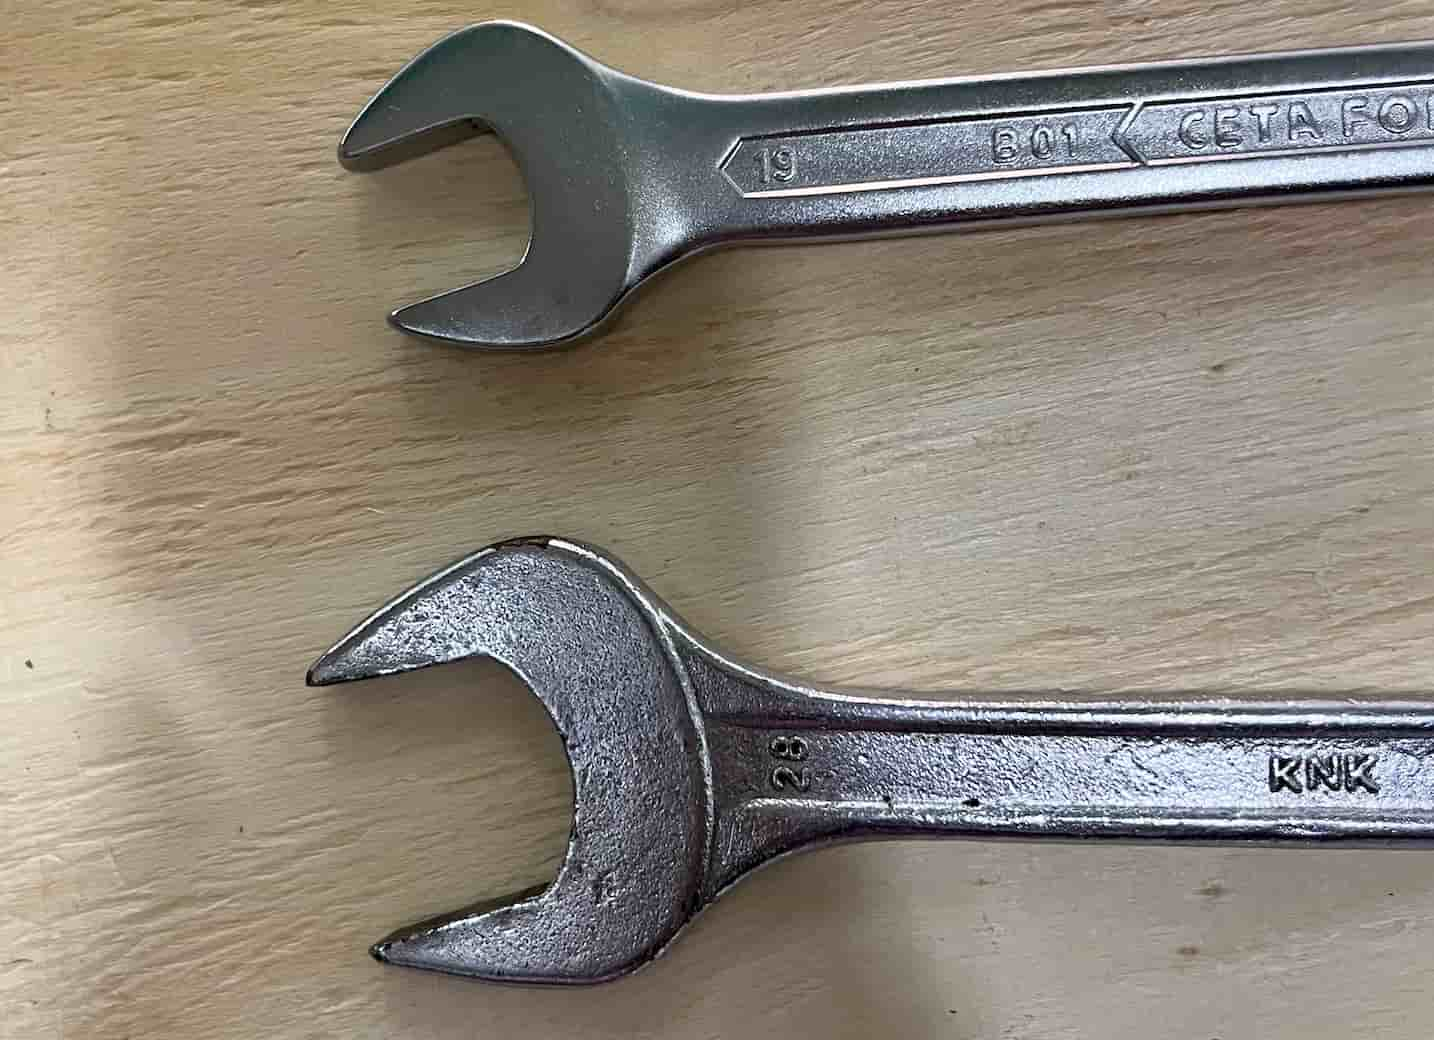
We need these tools to insert the blade, now in the placeholder, into the head:
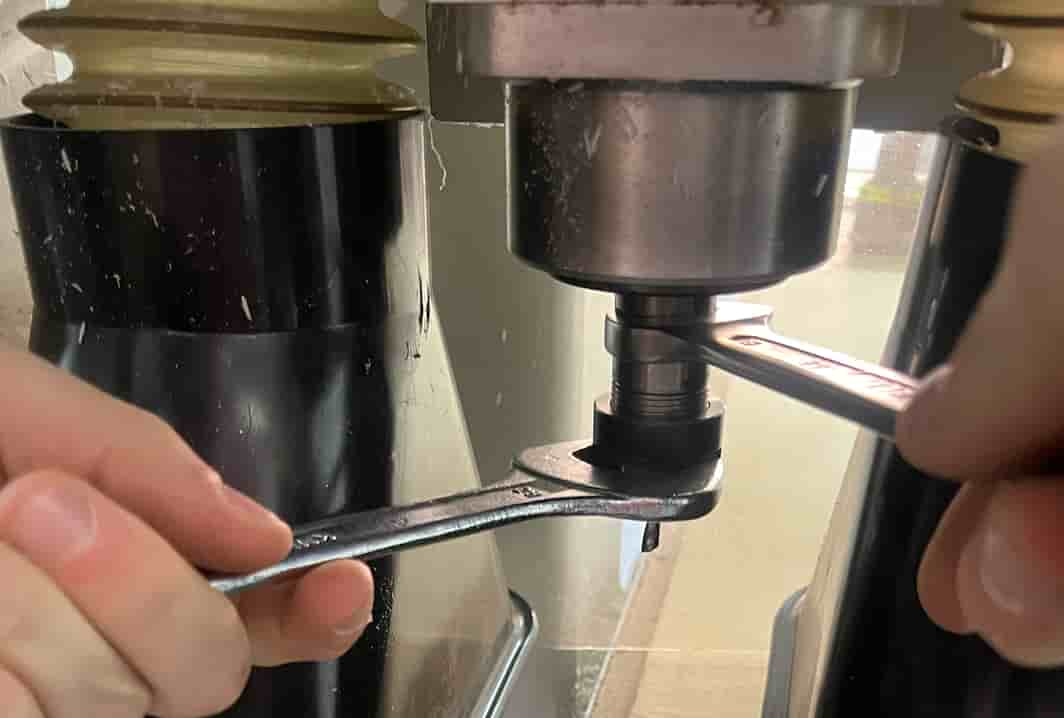
Here is the process of twisting it:
This is placed on the bottom drawer under the computer. The buton turns the computer on and this is also where we plug the usb in to access out designs from the CNC software:

We started our by making a design in Fsuion 360

We created 6mm (depends on blade) circle holes and extruded the object by 18mm (length of the wood)

This step is to define the cutting paths the CNC machine will follow.
The 6mm holes we sketched earlier are to put screws in before the cutting process begins. Without the screws the pieces would move after being cut so we need screws.
Here is the process of both creating the path for drilling those holes and the outlines for our final piece:
After arrangement is done we go to:

Drilling > Coolant = Disabled Drilling > Tool > Select > choose the following blade:

Geometry (3rd in Drill) > Selection Mode = Selected faces (select the 6mm holes), Minimum Diameter = 1
Click OK > Creates Setup called [T2] Drill1 [Rapid cutout]
Click OK > Creates [T1] 2D Contour 1
To see the simulation of the cutting process: Right Click setup folder > Simulate
Right Click setup folder > Create NC program > Click Post
Here is the cnc machine:

We put the .tap file into a USB and then connected it to the computer for the CNC.

Here is what the software for the CNC looks like:

Steps for using it:
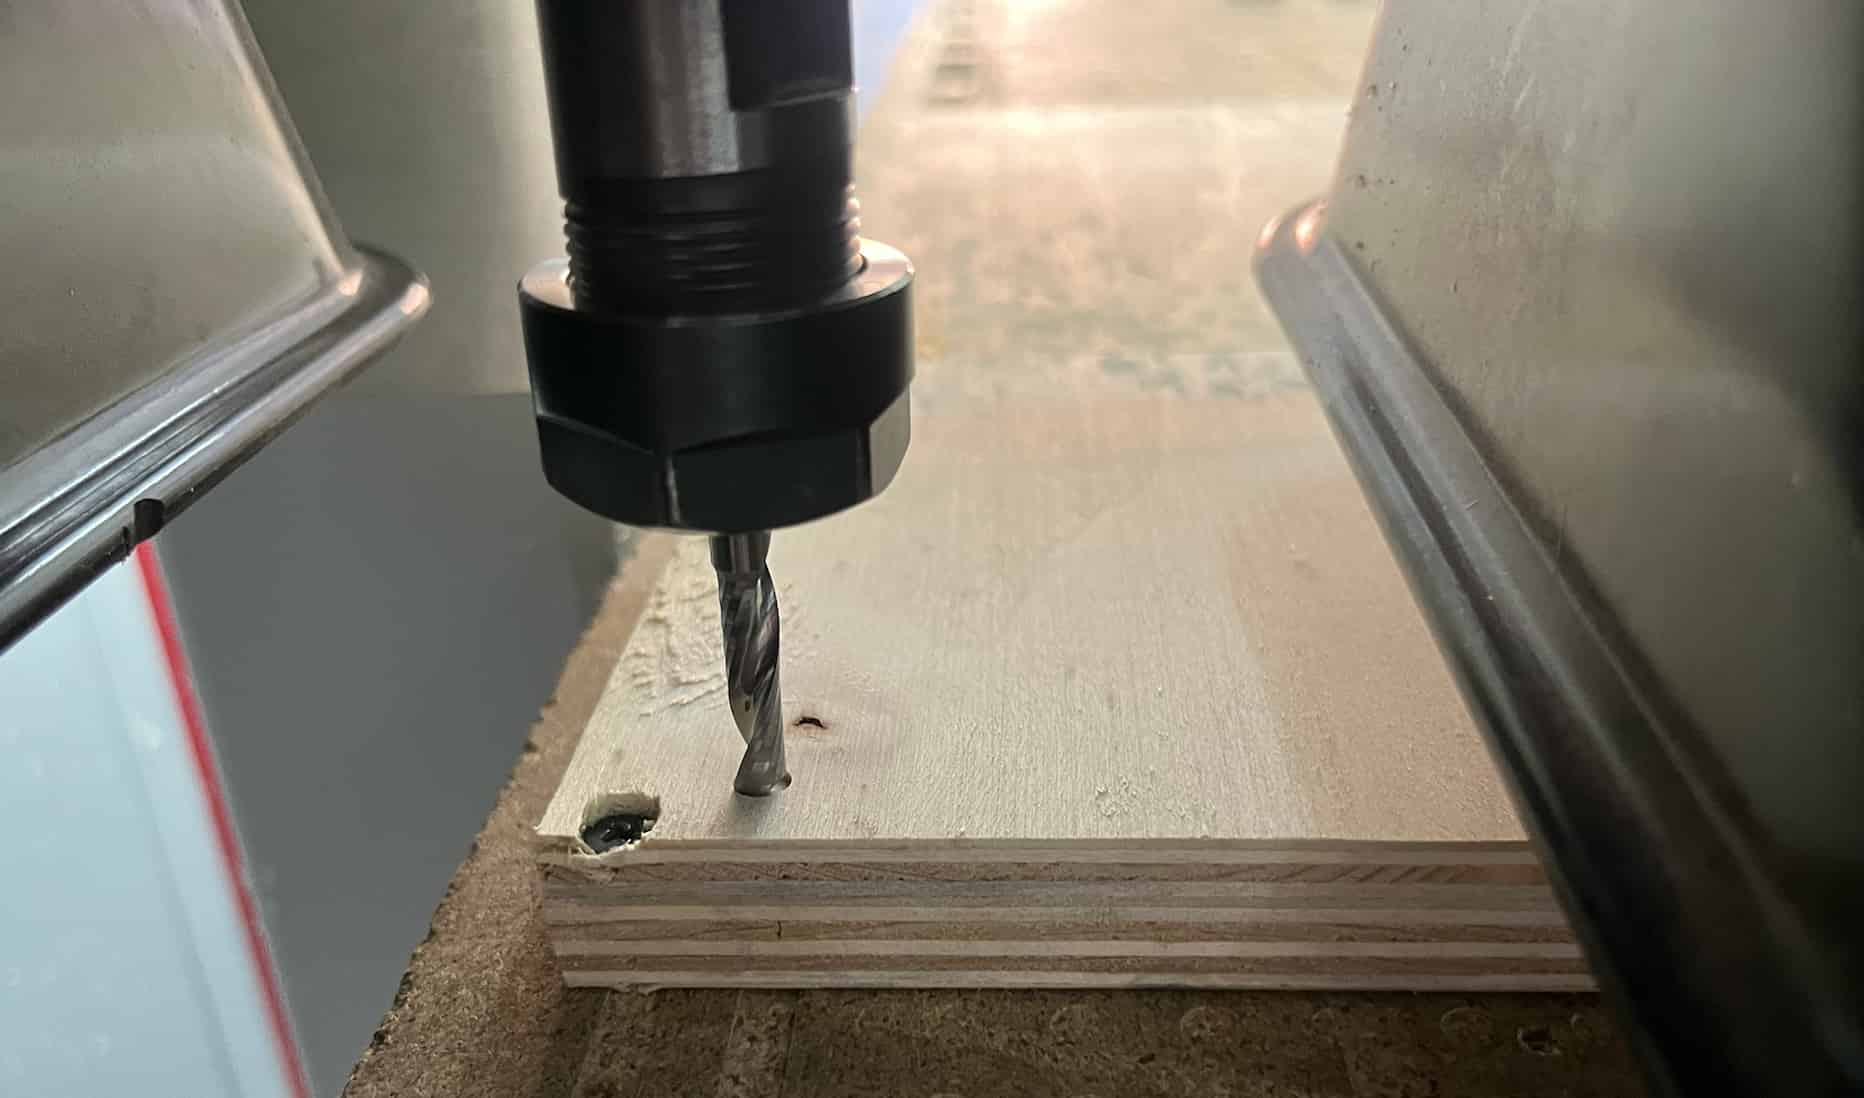
The first thing that happens is drilling so you can put the screws in before cutting begins.
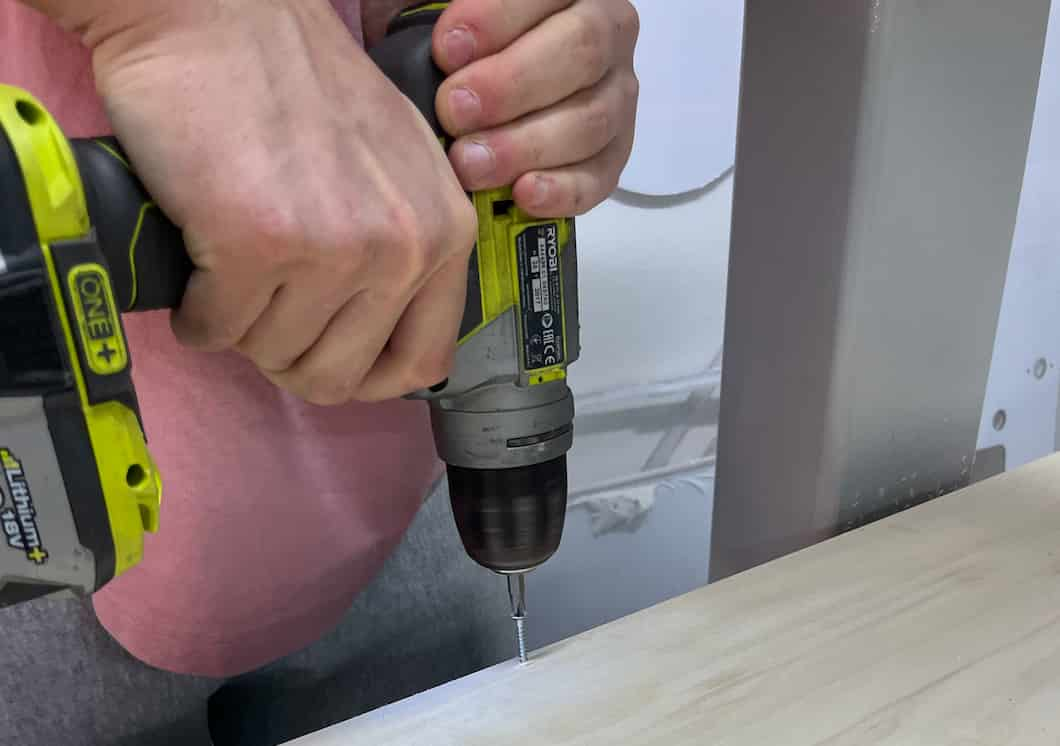
After we put the screws in we clicked start again and the cutting process began.
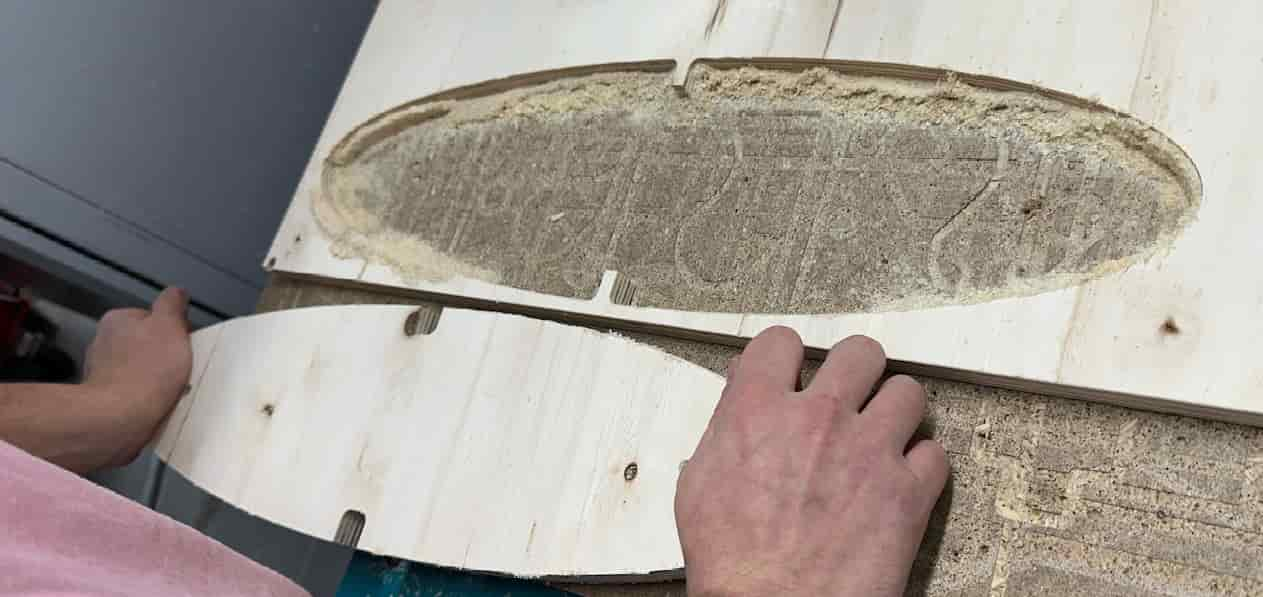
Here is our final product:
